
[ad_1]
A properly functioning ice maker is a crucial component of any modern kitchen, ensuring a steady supply of ice cubes for our daily needs. However, encountering issues with your GE ice maker not working can be frustrating and inconvenient. This troubleshooting guide is designed to help you identify and resolve common issues with your GE ice maker, ensuring optimal performance and longevity.
Key Takeaways
- Identify the root cause of your GE ice maker issue and apply troubleshooting techniques.
- Ensure proper power supply, freezer temperature, water supply and pressure for optimal functioning.
- Regularly inspect electrical components such as control module, board switch & motor, clean or replace water inlet valve, clear blockages & frozen lines to ensure efficient operation.
Troubleshooting When Your Ice Maker Is Not Working
If you find that your ice maker is not working, it can be a frustrating experience, especially on a hot day. There are several common reasons for ice makers to stop producing ice, and diagnosing the issue is the first step to getting it back in working order. One of the most frequent problems is a clogged water line or filter, which can impede the flow of water needed for ice production. Additionally, a malfunctioning ice maker control module, a defective water inlet valve, or even a simple issue like a jammed ice maker arm can all contribute to this problem
Identifying the Problem with Your GE Ice Maker
Pinpointing the source of the problem is the first step in effectively troubleshooting your GE ice maker. Fundamental troubleshooting steps include verifying power supply, freezer temperature, and water supply issues.
Once you’ve identified the root cause, you can start applying more specific troubleshooting techniques to restore your ice maker’s functionality.
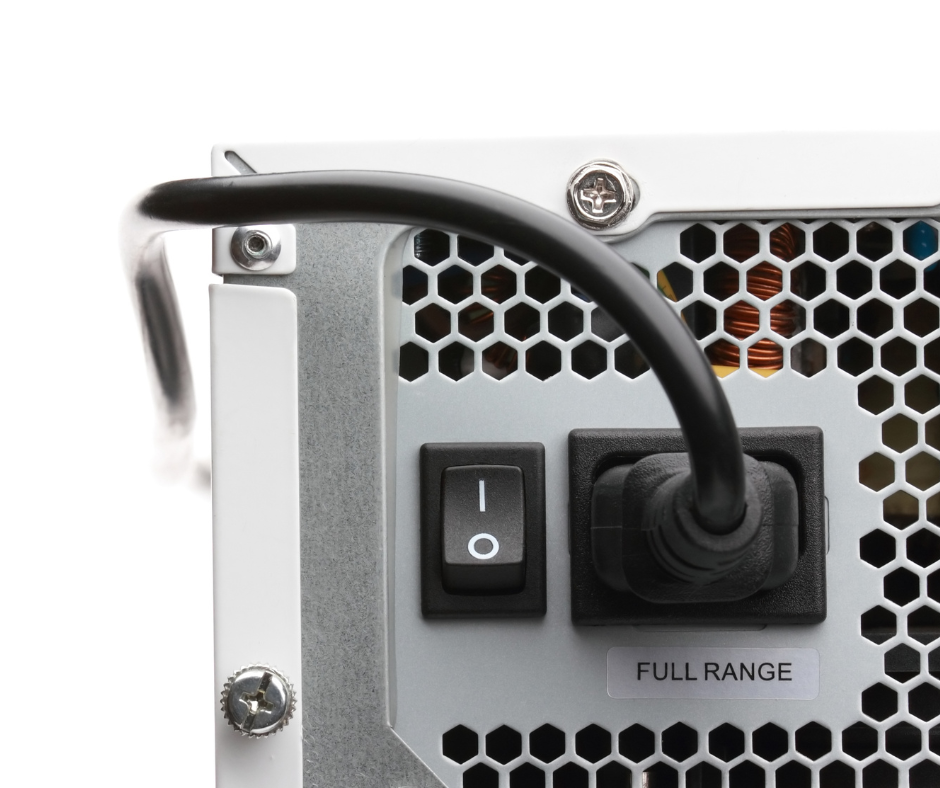
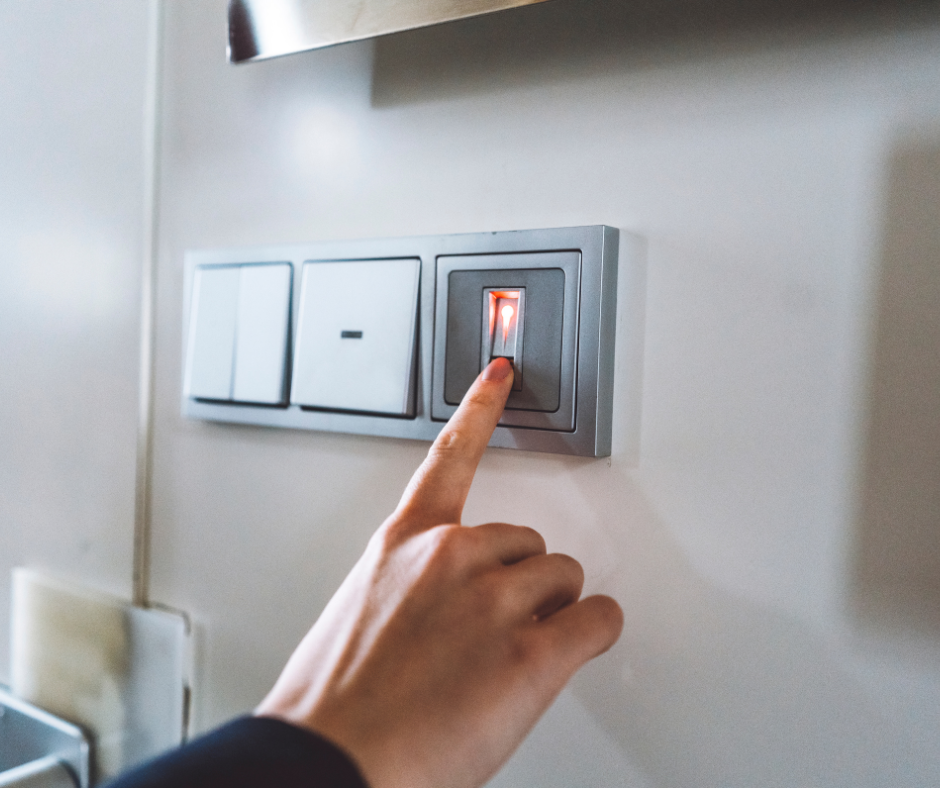
Power Supply Issues
Should power supply problems occur, your GE ice maker may become inoperative. Therefore, confirm that your refrigerator is properly plugged in and receiving power. Common power supply issues in household appliances include:
- Loose connections
- Power surges
- Defective outlets
- Power failures
Addressing these issues promptly will help restore your ice maker’s functionality, allowing you to enjoy refreshing ice cubes again.
However, if you suspect the problem may be more severe, such as:
- a tripped circuit breaker
- a faulty power outlet
- a loose or damaged power cord
- a malfunctioning control board
It’s best to consult a professional technician for assistance.
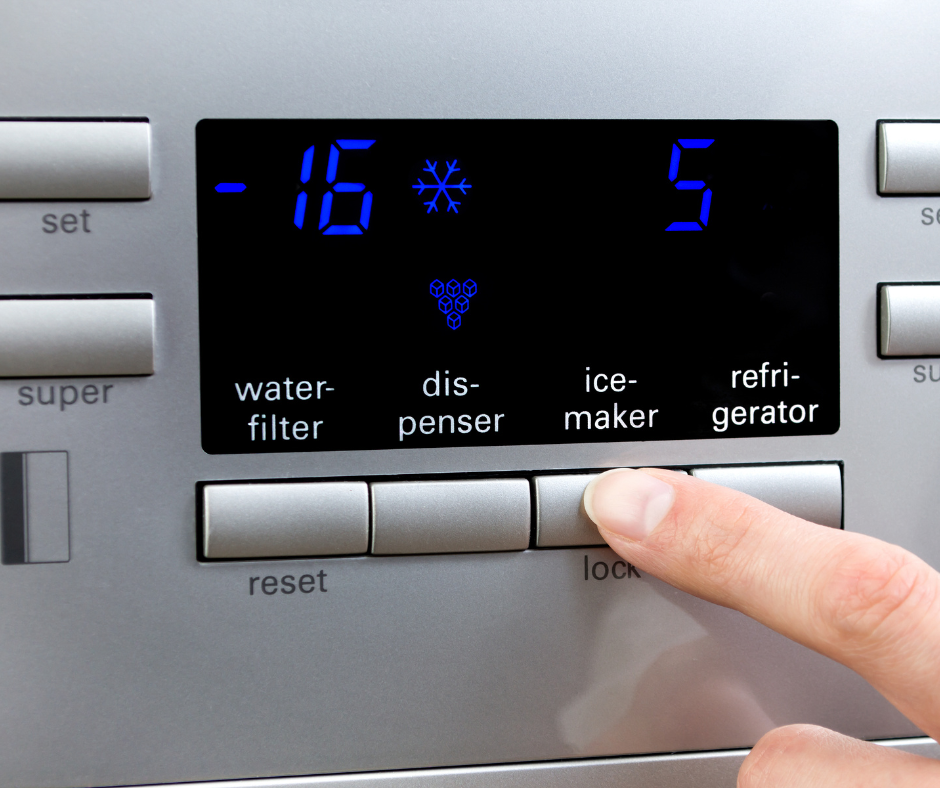
Incorrect Freezer Temperature
The ability of your GE ice maker to produce ice can be directly affected by incorrect freezer temperatures. For optimal ice production, maintain a freezer temperature between 0°F and 5°F (-18°C and -15°C). Regularly check and adjust the temperature settings to ensure a consistent supply of ice and prevent issues such as a frozen fill tube or sluggish ice production.
Water Supply Problems
The proper functioning of your GE ice maker can be hindered by water supply issues. Inspecting the water supply line for any leaks or kinks restricting water flow to the ice maker is a good way to address these issues. Additionally, evaluate the water pressure and ensure that it meets the required minimum of 20 psi for optimal ice maker operation.
If you suspect a faulty water inlet valve is causing the issue, it’s crucial to examine the valve for damage and replace it if necessary. Resolving water supply problems will ensure reliable and efficient ice production from your ice maker.
Ensuring the Ice Maker is Turned On
Making sure the GE ice maker is turned on is a simple but often overlooked troubleshooting step. Locate the switch or button on the ice maker or refrigerator control panel that activates the ice maker. Make sure the ice maker is in the “ON” position before proceeding with further troubleshooting steps.
Resetting Your GE Ice Maker
Resetting your GE ice maker can often resolve minor issues and restore proper ice production. To reset the ice maker, unplug the refrigerator for a few minutes before plugging it back in. Alternatively, refer to your refrigerator’s user manual or contact GE customer support for model-specific reset instructions.
If the issue persists, continue with more advanced troubleshooting techniques.
Inspecting the Ice Maker Components
The root cause of the problem and the restoration of ice production can be achieved by inspecting various ice maker components. Key components to examine include the bail arm, ice tray, and water inlet valve, as damage or blockages in these areas can impede ice production.
Bail Arm and Shut-Off Switch
Regulating ice production in your GE ice maker is a critical role played by the bail arm and shut-off switch. Here are some steps to follow:
- Check the bail arm for proper function and tension, ensuring that it is in the correct position and not obstructed.
- If the bail arm is lacking tension, inspect the spring and reposition it accordingly.
- If necessary, replace the bail arm or shut-off switch to restore proper ice production.
It’s important to remember that the bail arm serves as a shut-off mechanism when the ice bin is full, stopping ice production when raised and allowing it to continue when lowered. Ensuring the proper function of the bail arm and shut-off switch can help maintain consistent ice production.
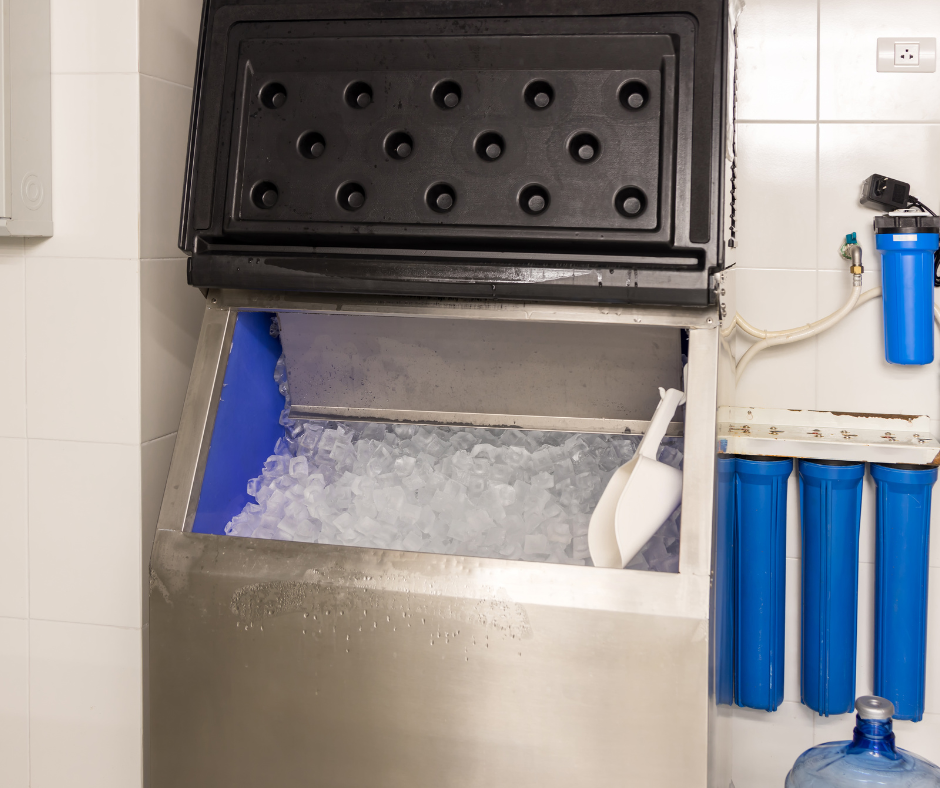
Ice Tray and Mold
Investigate the ice tray and mold in your GE ice maker for any cracks or damage that could hinder ice production. If you find any issues, replace the ice tray or mold as needed to restore proper ice production.
Regularly cleaning the ice tray and mold can also help prevent mineral deposits and other contaminants from affecting ice quality and production. Ensuring your ice maker functions optimally can be achieved by keeping these components clean and free of damage.
Water Inlet Valve and Fill Tube
Examine the water inlet valve and fill tube for leaks, blockages, or damage that could impede the flow of water to your GE ice maker. Clean the valve and fill tube as needed to remove any debris or blockages that may be restricting water flow. If the water inlet valve or fill tube is damaged, replace them to restore proper water flow and ice production.
Careful inspection and maintenance of these GE refrigerator ice makers components will ensure the longevity and efficiency of your GE ice maker.
Roper Ice Maker Not Working
If you’ve found yourself with a Roper ice maker not working, troubleshooting the issue is the first step to enjoying ice-cold refreshments once again. There can be various reasons behind your Roper ice maker’s malfunction. Start by checking if it’s properly connected to the water supply, and if it is, inspect the water inlet valve and ensure it’s functioning correctly. Also, don’t forget to confirm that the freezer temperature is adequately cold. If these basic checks don’t resolve the problem, you may need to delve deeper into the system to pinpoint the precise issue.
Addressing Water Supply and Pressure Issues
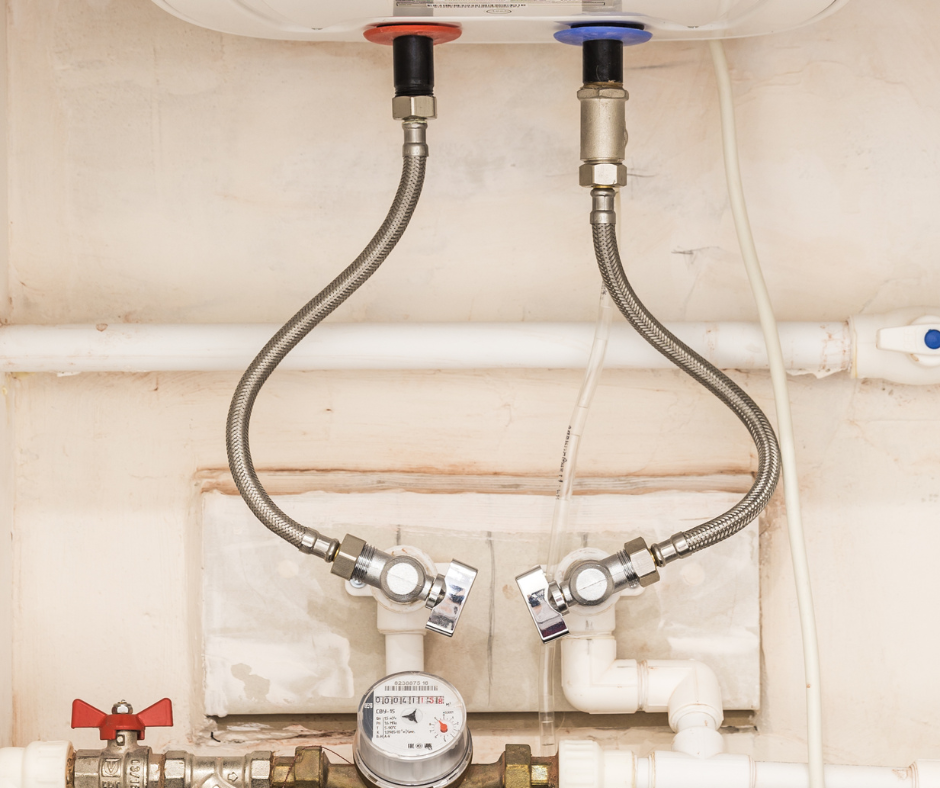
Your GE ice maker will function optimally when water supply and pressure issues are properly addressed. Here are some steps to follow:
- Check for leaks in the water supply line.
- Test the water pressure to ensure it meets the required 20 psi for proper ice maker function.
- If necessary, clean or replace the water inlet valve to ensure optimal water flow and pressure.
Checking for Leaks and Kinks
Leaks and kinks in the water supply line can restrict water flow to your GE ice maker and hamper its performance. Carefully inspect the water supply line for any leaks or kinks, and straighten them out if necessary. If the kinks are severe or if you find any leaks, it may be necessary to replace the water supply line to restore proper water flow to your ice maker.
Ensuring your GE ice maker receives an adequate water supply to produce ice efficiently can be achieved by promptly checking for and addressing leaks and kinks.
Testing Water Pressure
The optimal performance of your GE ice maker can be ensured by testing the water pressure in your home. The required water pressure for proper ice maker function is a minimum of 20 psi. To test the water pressure, you can use a water pressure gauge, which can be easily attached to an outdoor faucet or the water supply line.
If the water pressure is too low, you may need to adjust your home’s water pressure or consult a professional plumber to help resolve the issue. Maintaining proper water pressure ensures the efficient and consistent production of ice from your GE ice maker.
Cleaning or Replacing the Water Inlet Valve
Regulating the flow of water to your GE ice maker and ensuring the efficient production of ice is a critical role played by the water inlet valve. If the valve is clogged or damaged, it can impede water flow and negatively impact ice production. To address this issue, clean the water inlet valve by removing any debris or sediment.
If cleaning the valve doesn’t resolve the issue, it may be necessary to replace the water inlet valve to restore proper water flow and ice production. Regular cleaning or replacement of the water inlet valve ensures the optimal functioning of your GE ice maker.
Maintaining Proper Freezer Temperature
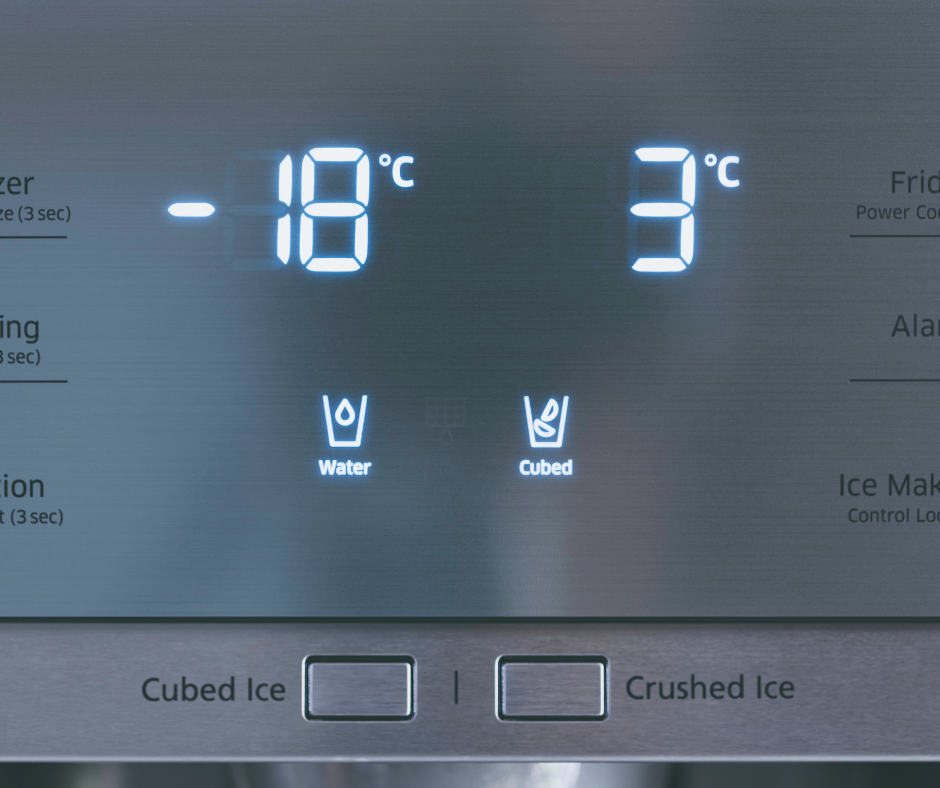
The efficient operation of your GE ice maker depends on maintaining the proper freezer temperature. Regularly check and adjust the temperature settings to ensure a consistent supply of ice and prevent issues such as a frozen fill tube or sluggish ice production.
Keeping your freezer at the recommended temperature range of 0°F to 5°F (-18°C to -15°C) ensures efficient and reliable ice production from your ice maker.
Replacing the Water Filter
Replacing the water filter in your GE ice maker every 6 months is crucial for optimal performance and water quality. A clogged water filter can restrict water flow and negatively impact ice production, so it’s essential to replace the filter regularly.
Doing so ensures your ice maker working properly, produces clean, great-tasting ice, and operates efficiently with the help of ice makers, all while making ice.
Clearing Ice Blockages and Frozen Lines
Ice blockages and frozen lines can impede the proper functioning of your GE ice maker. To clear ice blockages, defrost the ice maker by unplugging the refrigerator and allowing it to defrost for a few hours. Additionally, check for any obstructions in the dispenser or water supply line that may be restricting water flow.
Clearing ice blockages and frozen lines ensures your GE ice maker functions efficiently and maintains a consistent supply of ice.
Examining Electrical Components
The proper functioning of your GE ice maker relies on the crucial role of electrical components such as the ice maker control module, ice level control board, and ice maker switch and motor. It’s essential to examine these components for damage or malfunction to ensure optimal performance and address any issues promptly.
Ice Maker Control Module
The ice maker control module is the main factor which oversees the functioning of your GE ice maker. It ensures that all operations are carried out in an efficient way. To test the control module for proper function, consult your user manual or contact a professional technician for guidance on how to test the module using a multimeter and other tools. If the control module is found to be faulty, replace it to restore proper ice production.
Regular examination and maintenance of the ice maker control module ensures the efficient operation of your GE ice maker.
Ice Level Control Board
The ice level control board is an essential component of your GE ice maker, functioning to operate an infrared beam that signals the ice maker to stop production when the ice bucket is full. Check the control board for damage, and replace it if needed to ensure the ice maker functions optimally.
Preventing issues with ice production and ensuring your ice maker operates efficiently can be achieved through regular examination and maintenance of the ice level control board.
Ice Maker Switch and Motor
The ice maker switch and motor are critical components of your GE ice maker, regulating ice production and ensuring the ice maker operates efficiently. Inspect the switch and motor for proper function, and replace them if required to maintain optimal ice production.
The longevity and efficiency of your GE ice maker can be ensured by regularly examining and maintaining the ice maker switch and motor.
Seeking Professional Help
Seek professional help if the issue with your GE ice maker isn’t resolved using the troubleshooting steps outlined in this guide, or if you remain unsure about any steps. A qualified technician or GE customer support can provide expert assistance in diagnosing and repairing your ice maker, ensuring its optimal performance and longevity.
Regular Maintenance and Cleaning Tips
Regular cleaning and maintenance are essential for the optimal performance and longevity of your GE ice maker. By following the troubleshooting tips outlined in this guide and performing regular maintenance, you can quickly identify and address any issues with your ice maker, ensuring its efficient operation and providing a consistent supply of ice for your daily needs.
Summary
In conclusion, a properly functioning GE ice maker is an essential component of any modern kitchen. Regular cleaning and maintenance, coupled with the troubleshooting tips outlined in this guide, can help ensure your ice maker operates efficiently and provides a consistent supply of ice. By addressing power supply, freezer temperature, and water supply issues, as well as examining ice maker components and electrical components, you can quickly identify and resolve any problems with your ice maker, ensuring its optimal performance and longevity.
Maytag Ice Maker Not Working
If you’ve found that your Maytag ice maker not working, it can be a frustrating issue to deal with. There are several common reasons why your Maytag ice maker might stop producing ice. One of the first things to check is whether the unit is properly connected to the water supply and the water valve is turned on. Additionally, inspect the ice maker’s control module and thermostat settings to ensure they are set correctly. If your ice maker is still not functioning after these checks, it may be necessary to examine the water inlet valve and the ice maker assembly itself for any signs of damage or malfunction. By troubleshooting these potential issues, you can hopefully get your Maytag ice maker back to producing ice as it should.
Frequently Asked Questions
Why is my GE icemaker not making ice?
It appears that an improper freezer temperature may be the cause of the GE icemaker not working. Ideally, the freezer should be set between 0°F and 5°F (-18°C and -15°C) for optimal ice production. Ice can also be blocked inside the dispenser chute, ice bucket, or around the ice maker housing, and the water supply line may be frozen.
How do you reset the ice maker on a GE refrigerator?
To reset the ice maker on a GE refrigerator, press and hold the reset button for 5-10 seconds until you hear a clicking sound. Wait for the ice maker to refill with water and begin producing ice.
Why is my ice maker not making ice but water works?
The likely reason your ice maker is not producing ice, yet the water works, is due to a lack of water pressure in the refrigerator caused by a faulty water inlet valve requiring at least 20 psi to operate correctly.
How often should I replace the water filter in my GE ice maker?
It is recommended to replace your GE ice maker’s water filter every 6 months.
What is the recommended freezer temperature for a GE ice maker?
For a GE ice maker, the recommended freezer temperature is 0°F to 5°F (-18°C to -15°C).
[ad_2]
Source link